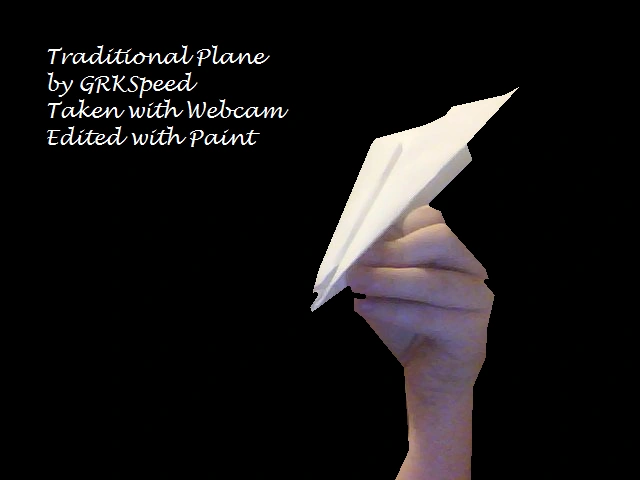
A Traditional Plane done correctly
The Traditional Plane is a relatively easy to make, generally standard for those beginning to fold paper airplanes. It actually has three successors; the TP2 Paraglide, the TP3 Forcebreaker, and the TP4 Clusterbomb.
Construction
Step One
Take one 8 1/2 by 11 inch sheet of paper and turn the paper so it is standing on its short side. Then, fold the two long parallel sides, crease it, and then open the paper again.
Step Two
Take the top two corners on the top and fold and crease the corners so that they both touch the middle fold. Then, take the two outer edges of the corners you just folded, rinse and repeat. The corners you just folded (not the corners at the beginning of the step) should go down the middle fold even more. After that, fold the whole plane in half so that all the details are on the inside.
Step Three
The newly formed right triangle-like quadrilateral signals the final step of construction. Take the top of one side and fold it down to the base of the quad. Rinse and repeat with the other side.
- Congratulations, your airplane is finished!

How to make the Traditional Glider
How to make the Traditional Glider
Performance
The plane should now fly in one straight direction. The aircraft's performance in flight will be affected by how well it was constructed. Remember, precise folding equates to better speed and distances characteristics. If you want performance increased further, fold the wings up slightly; giving the wings a slight dihedral deflection. If done correctly, looking at the profile of the aircraft, the shape of the wings and fuselage will look similar to a capital Y. For more help, see Tips on Plane Construction.